Today’s Post by Joe Farace
My inner goddess has her sequins on and is warming up to dance the rumba.—E. L. James
Prologue
 This post is about the current warm up technique that I’m using when photographing glamour models in-studio. This process would be different for an on-location shoot. Keep in mind that this is what I like to use and you may prefer a different approach and what works for you may be better than anything I might suggest.
Before I begin shooting the process is discussed with and agreed to by the mode. To further explain, I’ll show her some of the warm up sequences that I’ve made with other models so she understands how the shoot will progress.
First Some History
When I was a young photographer I attended a seminar on portrait posing that was taught by a well-respected Colorado gentleman who was well known for his classic portraiture, It went something like this:
He started by showing us how to pose a subject that was seated on a traditional, adjustable studio posing stool. His system started by posing the subject in pose A, then made a slight adjustment to the pose and moved on to pose B, and after that there was another change to Pose C. There may have been more steps that he showed during the first part of the presentation but it’s been a while… After a few minutes he asked me—maybe he thought I wasn’t paying attention or looked like the dumbest student or just wanted to embarrass me, I don’t know—to demonstrate to our group what he just showed us and pose the model we were working with. I didn’t remember a damn thing. Maybe it was because his system had too much detail for my brain to handle or maybe I really was the dumbest student in the group, so I won’t burden you with too many details but here’s what I do instead.
How I typically work
Before the shoot: Once a model is happy with their hair and makeup, it’s time to begin shooting but—and this is most important thing—I like to give a client time to warm up. When working with newer models, I don’t expect them to walk in front of a camera and move effortlessly from post to pose. So the first shots we make together are designed to help the photographer and subject get into sync. As each subsequent photograph is made, the subject should be more relaxed and the photographs will get better and better. At least that is always my hope.
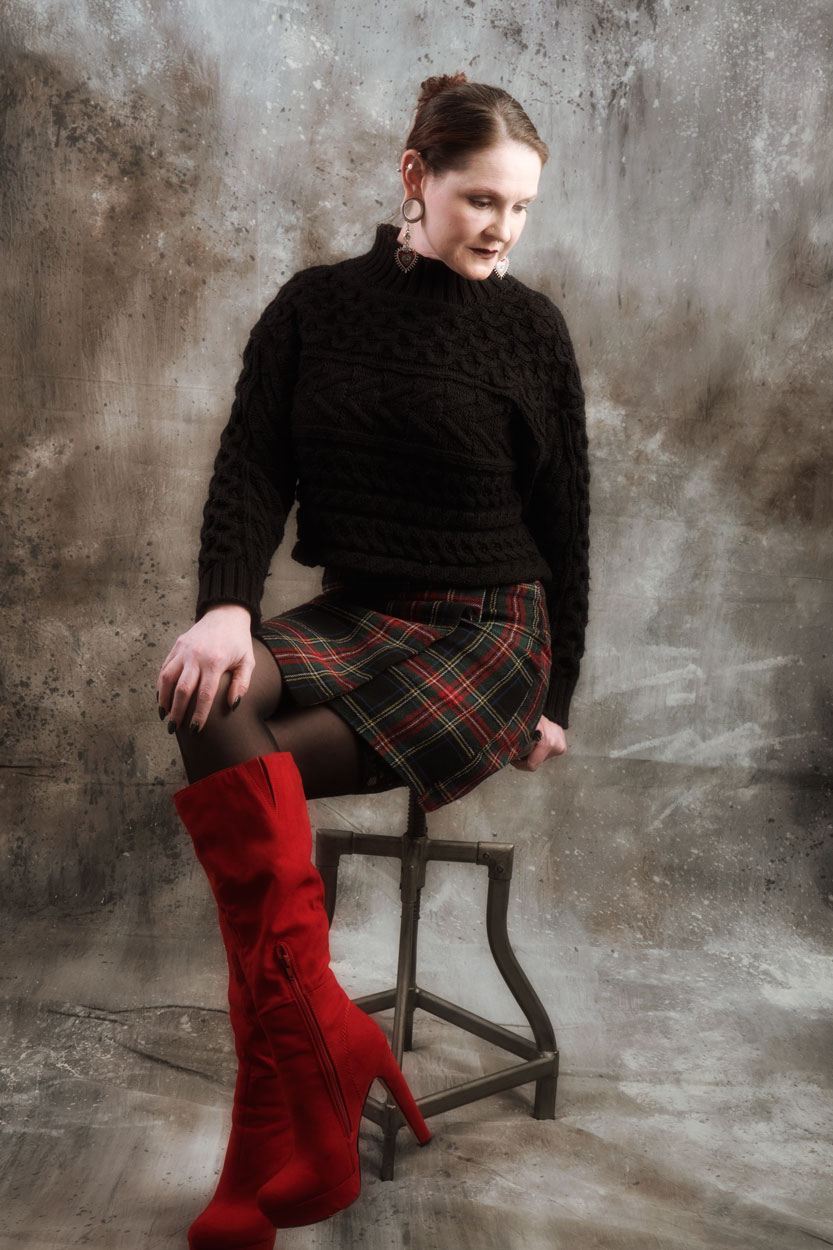
 How I Made this Portrait: The first series of shots is made with the model wearing all of the clothes that she walked in wearing (above right) but she will have done her makeup and hair as if we were shooing a finished portrait.
I make one or so frames of that first pose, then ask her to change each pose as she takes off one item of clothing. I usually make one or two shots and we continue with that same process until she’s either nude or as nude as she is comfortable being.
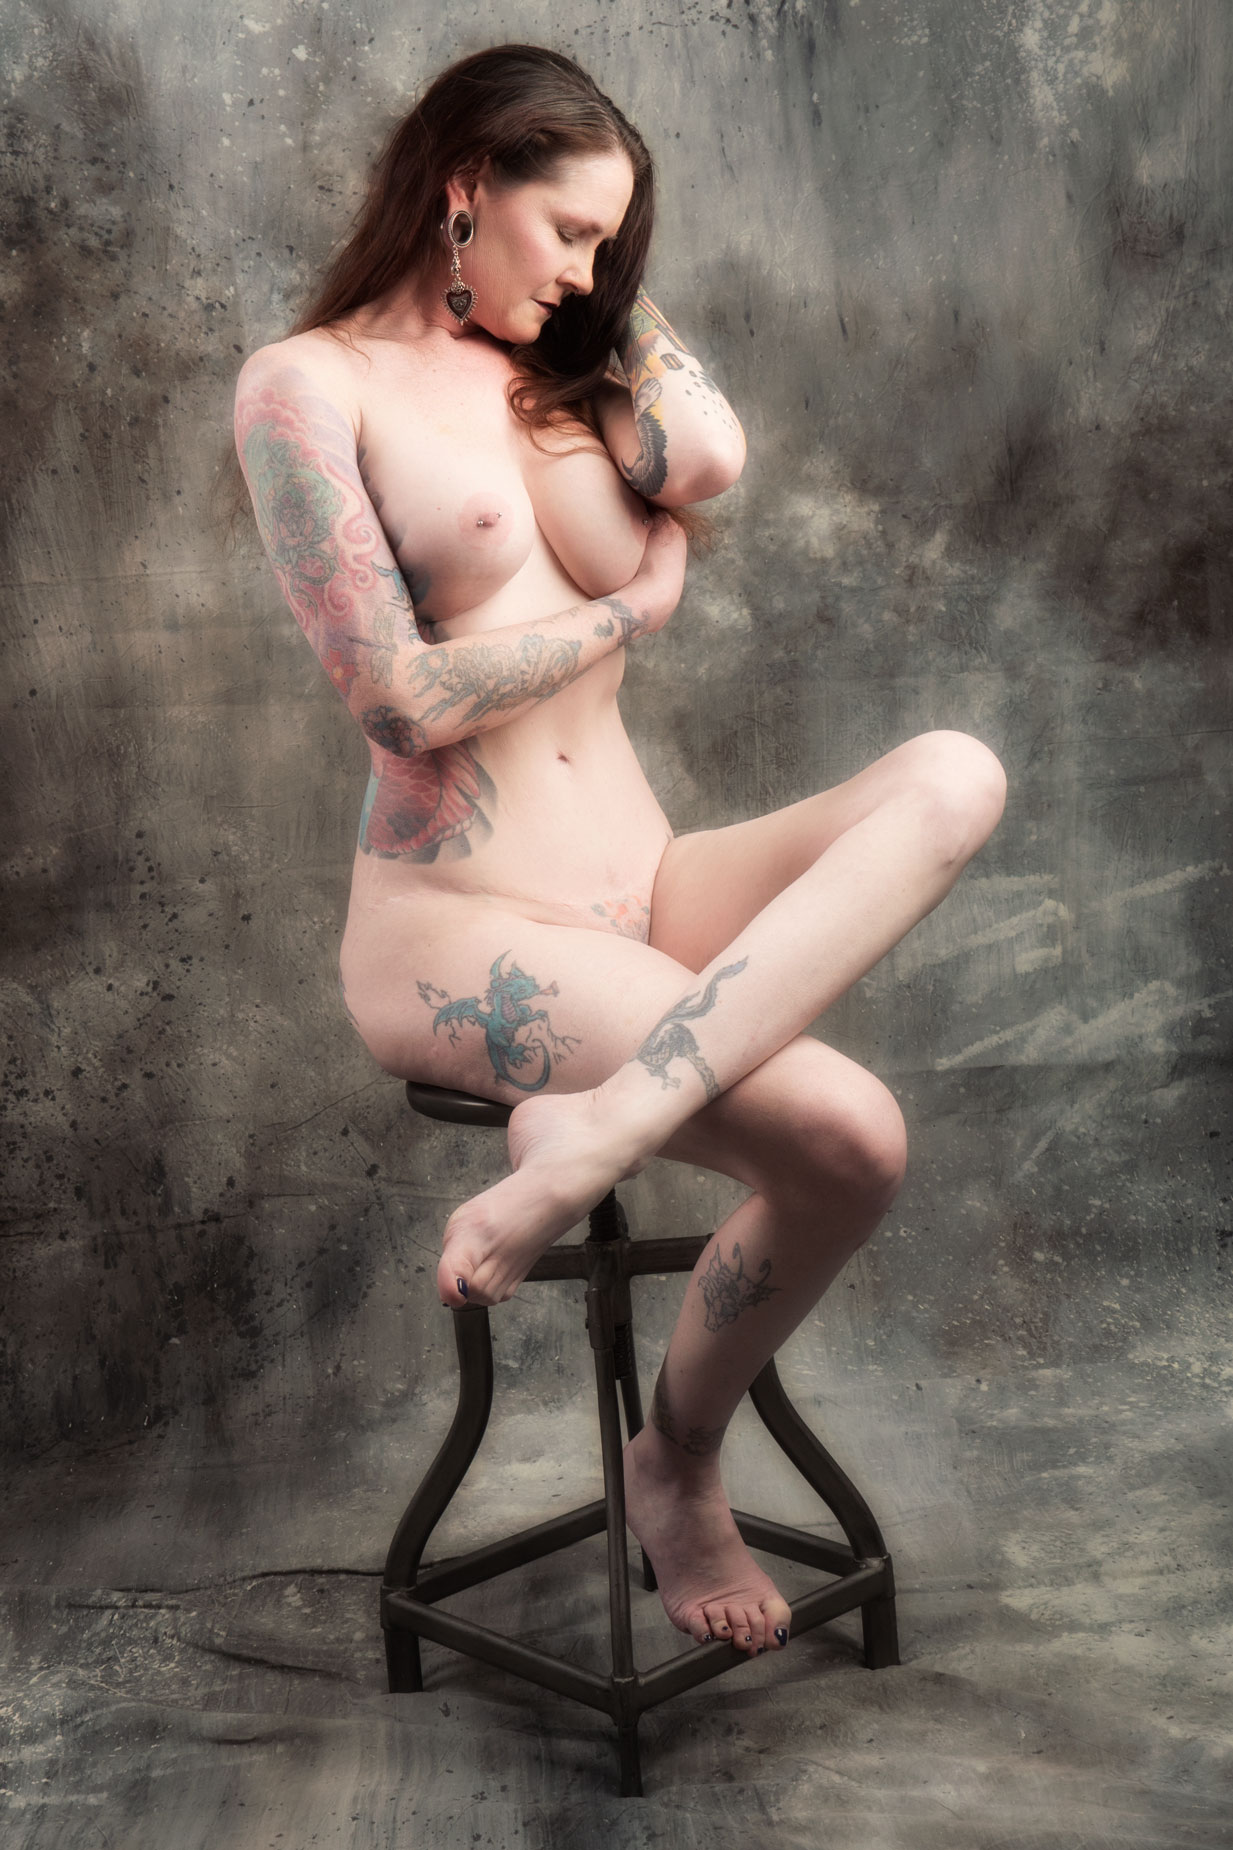
The first part of a good, even great, glamour shoot is that the model should be comfortable. Only then will you be able to make great images and great poses. In this instance, the model was comfortable being totally nude, so the above left image is one of the final images we made at that point in the warm up series.
Props help too. And for this shoot with Scarlet I used a stool—it’s not a real photographer’s posing stool, just one that my wide gave me as a gift—and let the model interact with it. She can sit on it the way Scarlet did here or use it as a prop; it’s always her choice/ This upper right image was made at the beginning our warm up and the featured image was during the latter part when she changed how much she was wearing.
The lighting setup for this portrait consisted of two Paul C Buff DigiBee DB800’s monolights and one Alien Bee B800 monolight. One DigiBee DB800 was placed at camera right and was fairly close to Scarlet. It had a 37x27x12inch Plume Ltd. Wafer soft box attached. An Alien Bee B800 with an 16 x 30-inch Westcott Apollo Strip soft box mounted was located at camera left. Another DigiBee DB800 with a Paul C Buff 18-OMNI Reflector attached, softened by a triple-layer Diffusion Sock, was located at camera left and placed neat the back corner of my home studio.
The camera used was a Panasonic Lumix GH4 with a Lumix G Vario 14-45mm f/3.5-5.6 lens (at 26mm) with an exposure of 1/125 sec at f/10 and ISO 200. The background was a Carbonite hand painted muslin from Silverlake Photo Accessories.
Do I have a system?
I don’t know, maybe yes, maybe no. If you read the above “How I Made” section,” you may have a rough idea of what I am currently doing. I believe that if few portrait subjects are perfect, no pose if perfect either! As you look at the images throughout this blog, you will see real-world examples with real world people working toward a single goal, making the best possible images. That means compromises are inevitable and any “rules” should really be considered guidelines or suggestions because the art of posing combines reality with what the subject and photographer can accomplish on a given day.
